How to Set Up Steam Deck: A Comprehensive Guide
Getting your hands on a brand new Steam Deck and setting it up is just the beginning of your journey to gaming bliss. In this article, we'll take you through the step-by-step process of how to set up Steam Deck for a seamless gaming experience.
Step 1: Unboxing and Hardware Setup
The first step in getting your Steam Deck up and running is to unbox it and take a look at all the hardware components. You'll find that the external casing is made of aluminum alloy and features a USB-C charging port, an HDMI port for TV connectivity, and a microSD card slot for expanding storage. The Steam Deck's design makes it easy to use on the go, with a compact and lightweight build.
Before setting up your Steam Deck, make sure you have all the necessary hardware. Ensure that your device has the official Steam Deck power adapter and a compatible charging cable. Once you have everything, you're ready to start setting up your device.
Step 2: Connecting to Wi-Fi
Connecting to Wi-Fi is a crucial step in setting up your Steam Deck for online gaming. You can do this by going to the Settings menu and then selecting "Wi-Fi." Enter the Wi-Fi password for your network, and your Steam Deck should now be connected to the internet. Keep in mind that Steam Deck's Wi-Fi may not be as strong as your laptop or phone, affecting your online gaming experience.
Step 3: Setting Up Your Steam Account
Before you start using your Steam Deck, you'll need to set up your Steam account. You can do this by creating a new account on the official Steam website or by linking an existing Steam account to your device. Once logged in, you can access a vast collection of Steam games, including popular titles like Minecraft, No Man's Sky, and Death Stranding.
Step 4: Installing Games
Now that you have your Steam Deck set up, it's time to start installing games. You can do this by searching for games on the Steam store, purchasing them, and then adding them to your library. Some games may require additional setup or configuration, so be sure to follow the prompts provided by the game developer.
Step 5: Configuring Performance Settings
One of the most common issues people encounter when using Steam Deck is underestimating the device's performance potential. To get the most out of your Steam Deck, it's essential to familiarize yourself with the Steam overlay performance settings. These settings can affect the device's battery life, so it's crucial to optimize them for your gaming needs.
Step 6: Expanding Storage (Optional)
While the base Steam Deck comes with 64GB, 256GB, or 512GB of internal storage, you can easily expand this capacity by using microSD cards. You can purchase cards up to 2TB, but we recommend using 512GB or 1TB for optimal performance.
Step 7: Replacing the Internal SSD (Optional)
If you need more storage space, you can also replace the internal SSD of your Steam Deck. This requires a bit more technical expertise, but it's a great option if you want to take full advantage of your device's performance and storage capabilities.
Step 8: Setting Up Accessories
While the Steam Deck is a self-contained device, you may still want to use additional accessories to enhance your gaming experience. You can use a good microSD card to expand storage, a dock for TV play, or a power bank for longer battery life when traveling.
Common Issues and Fixes
If you encounter any issues during the setup process or while using your Steam Deck, you can find help in our troubleshooting section. Some common problems include flashing black screens, battery life issues, and connectivity problems. We've got you covered with step-by-step solutions to get you back to gaming in no time!

")


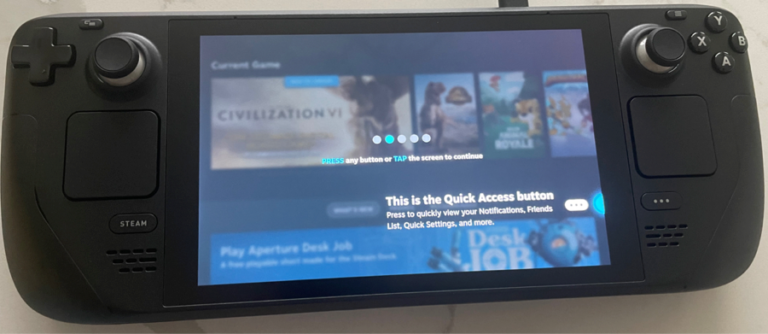
![How to Setup Your Steam Deck [Step by Step with Pictures]](https://static1.thegamerimages.com/wordpress/wp-content/uploads/wm/2024/06/emaki-8.jpg "How to Setup Your Steam Deck [Step by Step with Pictures]")
")


