Step-by-Step Google Home Setup for Home Theater
Setting up a Google Home system for a home theater is a straightforward process that can be completed in a few minutes. With the Google Home app, you can easily connect your device to your Wi-Fi network, link your Google Assistant, and start enjoying your favorite music, movies, and TV shows with just your voice.Step 1: Unbox Your Google Home Device
Begin by unboxing your Google Home device, which includes a speaker or display, a power cord, and a quick-start guide. Place the device in the desired location, ideally in a central area of your home where you can easily hear and see it.Step 2: Connect to Wi-Fi
Using the Google Home app, navigate to the "Devices" tab and select the device you want to set up. Choose your Wi-Fi network from the list of available options and enter your password. Wait for the app to detect and connect your device to the network.Step 3: Link Your Google Assistant
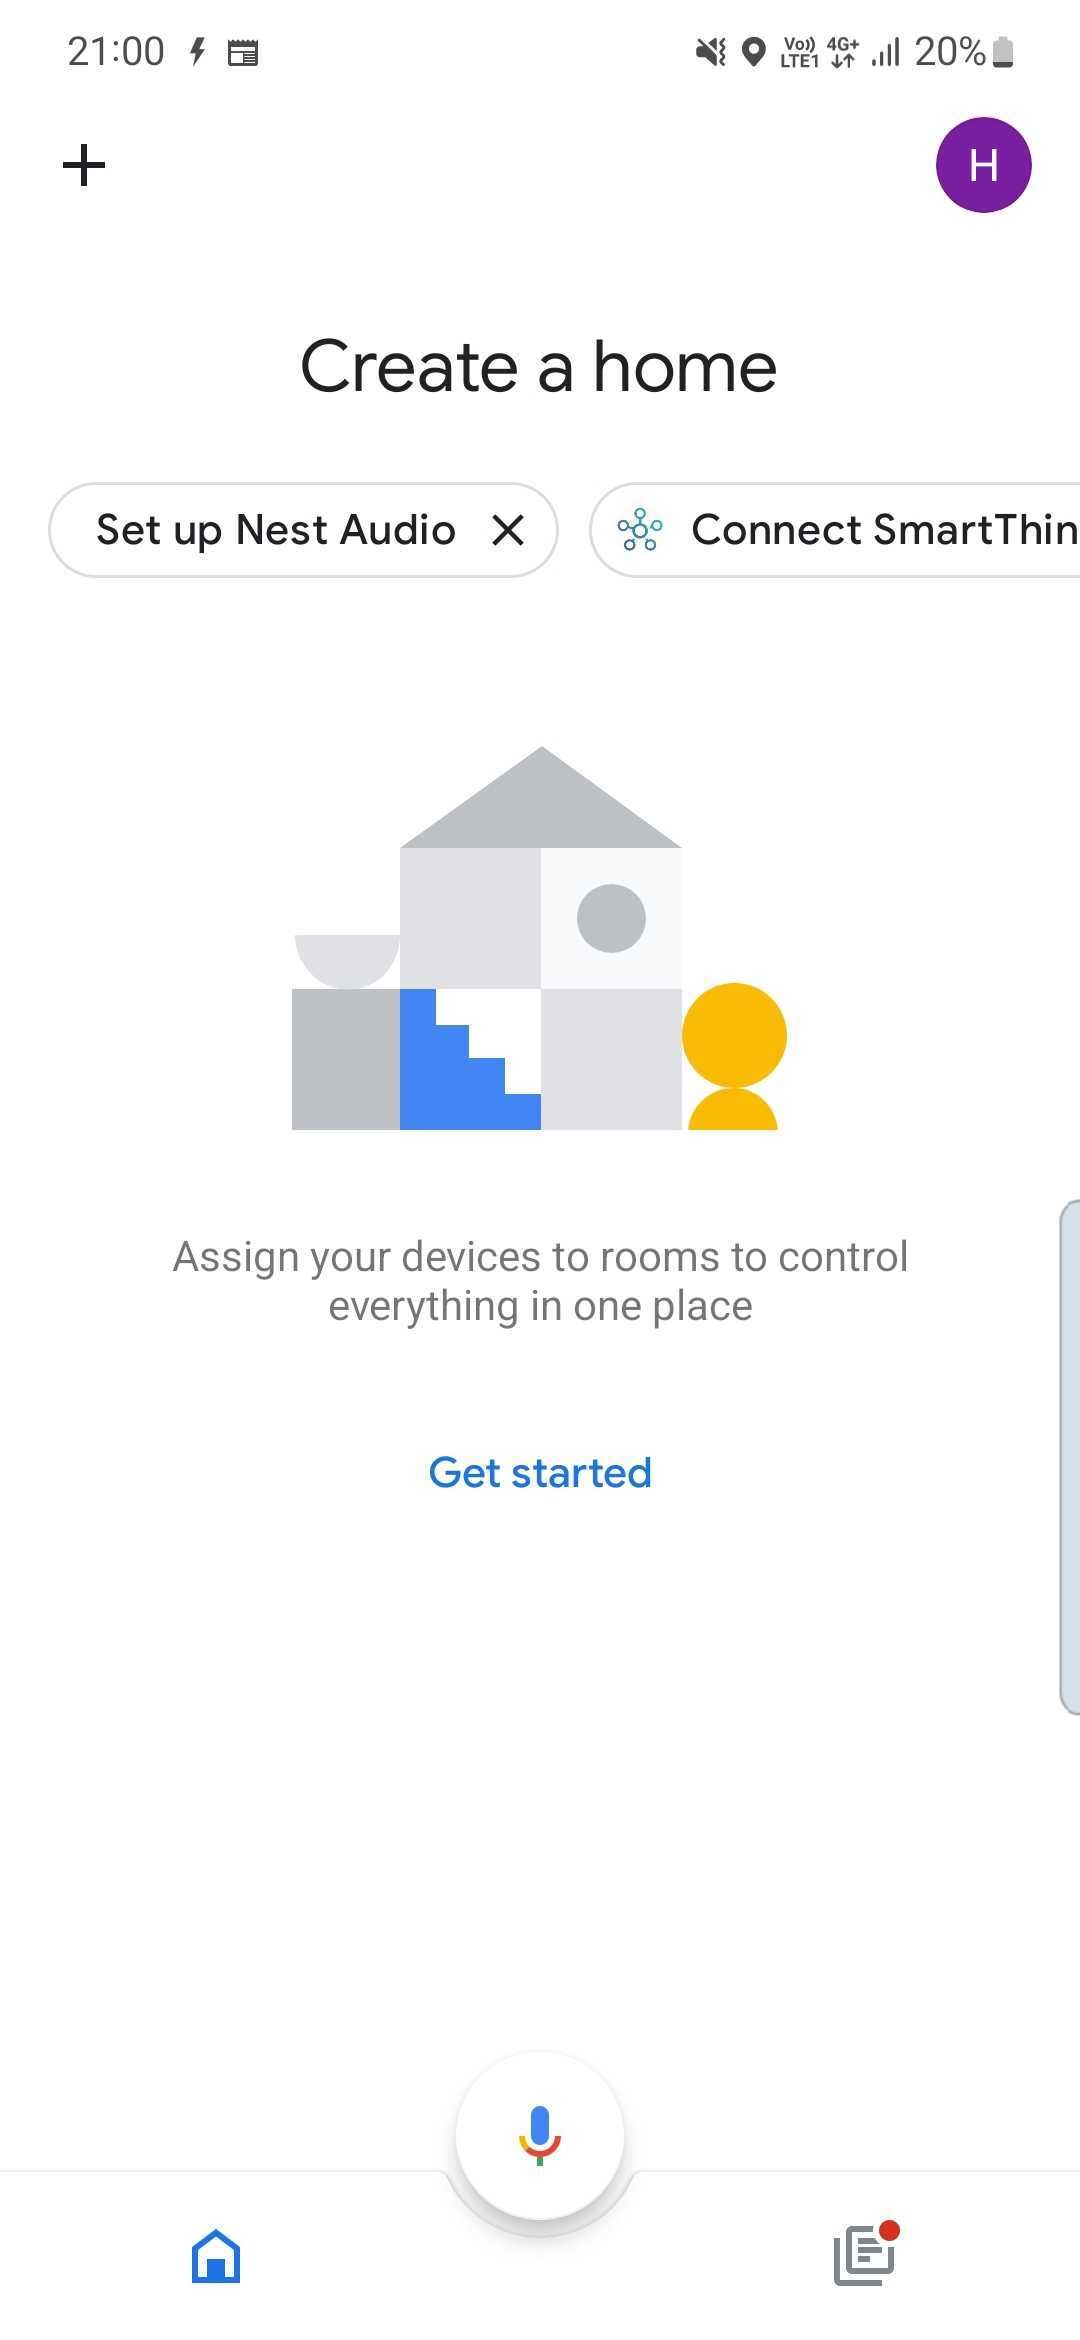
Linking your Google Assistant is the core step in setting up your Google Home device. Launch the Google Home app, tap on the "+" icon to set up a new device, and follow the on-screen instructions. Choose your language, location, and other settings, then tap on "Next." You'll be prompted to set up a Google account or sign in to an existing one.Step 4: Customize Your Settings
After linking your Google Assistant, you can customize your settings to suit your home theater preferences. You can change your device's name, set up multiple control options, and adjust the volume and sensitivity settings.Step 5: Connect Your Music and Video Accounts


 - wikiHow Tech")


 - YouTube")
")


