Setting Up a Private Minecraft Server: An Ultimate Step-by-Step Guide
Minecraft is one of the most popular video games of all time, and it's easy to see why. It offers an unparalleled level of creative freedom, allowing players to build and explore vast worlds with minimal restrictions.
Why Create a Private Minecraft Server?
If you're tired of playing on public servers with lag, griefing, and poor gameplay, creating a private server is the solution you've been searching for. By setting up your own private server, you can enjoy a smooth and enjoyable gaming experience with your friends, free from the limitations of public servers.
Basic Requirements to Set Up a Private Minecraft Server
- A computer with a decent processor and RAM
- Java installed on your computer (as Minecraft is a Java-based game)
- A router or modem to connect to the internet
- A static IP address (if you want to set up a server outside of your local network)
Choosing a Platform for Your Private Minecraft Server
There are several options to choose from when itcomes to setting up a private Minecraft server, including:
- Free option: You can use a cloud-based service like Minehut to host your Minecraft server. Minehut offers a free plan, but it has some limitations, such as a maximum of 10 slots and limited customization.
- Cloud-based hosting: You can also rent a cloud-based hosting service, such as JNS, which offers more control and flexibility over your server settings.
- Self-hosting: If you want full control over your server settings and don't mind the technicalities, you can self-host your Minecraft server on your own computer or a virtual private server (VPS).
Setting Up Your Private Minecraft Server
Here's a step-by-step guide to setting up your private Minecraft server:
Step 1: Download the Minecraft Server Software
First, you need to download the Minecraft server software from the official website. Make sure to choose the correct version of the server software that matches your Minecraft game version.
Step 2: Create a Server Jar File
Once you've downloaded the server software, create a new file called "server.jar" and copy the contents of the downloaded file into it.
Step 3: Run the Server Jar File
Open a command prompt or terminal window and navigate to the directory where you created the server.jar file. Run the file using the "java -Xmx1024M -Xms1024M -jar server.jar" command. This will launch the Minecraft server and create a new world.
Step 4: Configure Your Server Settings
Once your server is up and running, you can configure your server settings by editing the server.properties file. You can change settings like the server name, difficulty level, and game mode.
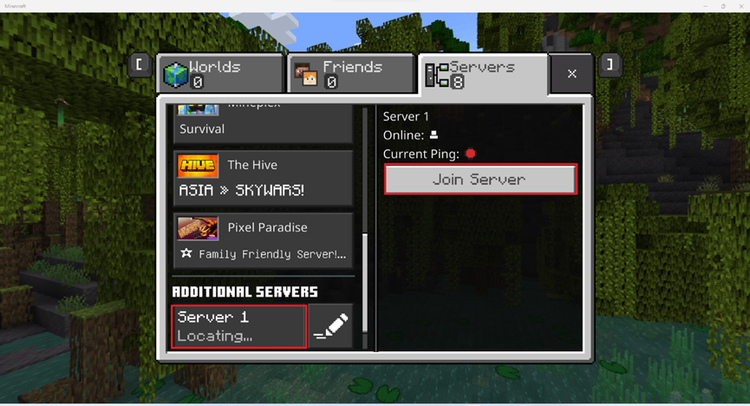
Step 5: Invite Players to Join Your Server
Now that your server is set up and configured, you can invite players to join your server by sharing the IP address and port number of your server.
Tips and Best Practices for Setting Up a Private Minecraft Server
- Use a static IP address to avoid any issues with dynamic IP addresses.
- Make sure to configure your server settings correctly to ensure a smooth gaming experience for your players.
- Consider using a plugin to add additional features and functionality to your server.
- Keep your server software and plugins up to date to ensure you have the latest security patches and features.
Conclusion
In this article, we've covered the basics of setting up a private Minecraft server, including choosing a platform, downloading the server software, creating a server jar file, running the server, configuring server settings, and inviting players to join your server. By following these steps and tips, you can create a private Minecraft server that's tailored to your needs and provides a smooth and enjoyable gaming experience for your players.


