Cell Phone Screen Protector Installation: A Step-by-Step Guide
Are you tired of dealing with scratched and cracked screens on your cell phone? Installing a screen protector is a simple and effective way to protect your device from damage. But, applying a screen protector can be a daunting task, especially if you've never done it before. In this article, we'll take you through a step-by-step guide on how to install a screen protector, including the types of screen protectors, preparation, and the installation process itself.
Why Install a Screen Protector?
A screen protector serves as a shield for your device's screen, protecting it from scratches, cracks, and other types of damage. It also helps to reduce the visibility of fingerprints and smudges. In short, a screen protector is a must-have accessory for any cell phone user.
Types of Screen Protectors
There are several types of screen protectors available, including tempered glass, film, and inflatable screen protectors. Tempered glass screen protectors are the most popular type, as they offer superior protection and scratch resistance.
Preparing for Installation
Before you start installing your screen protector, make sure you have the following:
- A clean and dust-free environment
- The correct screen protector for your device
- A microfiber cloth
- A can of compressed air (for dust-free installation)
- An installation tray or frame (optional)
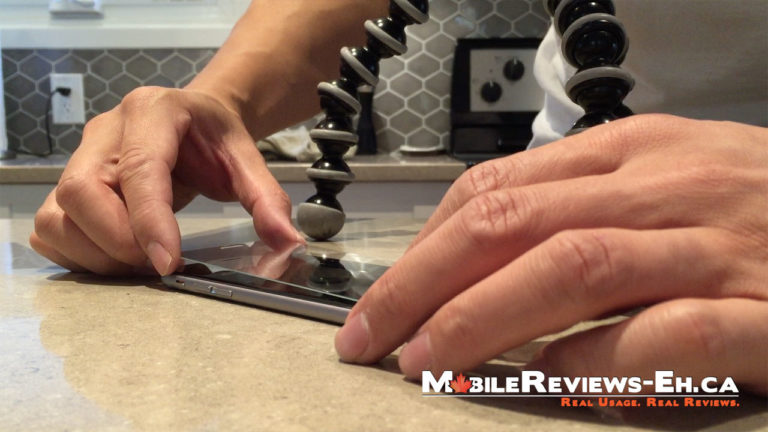
Step-by-Step Installation Guide
Follow these steps to install your screen protector:
- Clean the screen thoroughly with a microfiber cloth to remove dirt and dust.
- Place the screen protector on the screen, aligning it with the device's frame.
- If using an installation tray or frame, place the device face down and carefully apply the protector to the tray.
- Use a squeegee or a credit card to remove any air bubbles and excess adhesive.
- Inspect the screen for any remaining bubbles or adhesive residue.
Tips for a Smooth Installation
Some screen protectors come with additional features, such as alignment guides or installation kits, to make the process smoother. Here are some additional tips to keep in mind:
- Make sure the device is clean and dust-free before applying the screen protector.
- Use a can of compressed air to dust the screen before installation.
- Apply the screen protector slowly and carefully to avoid bubble formation.
- Use a squeegee or credit card to remove excess adhesive and air bubbles.
Alternative Installation Methods
Some screen protectors offer alternative installation methods, such as hinge installation or adhesive-free installation. Choose the method that suits your needs and preferences.
Conclusion
Installing a screen protector is a simple and effective way to protect your cell phone from damage. By following the steps outlined above, you'll be able to apply a screen protector with ease and confidence. Remember to consider the type of screen protector you need and follow the manufacturer's instructions for any additional installation guidance.
Additional Resources
For more information on screen protectors and installation, check out the following resources:
- Our in-depth guide to the best screen protectors for cell phones
- Review articles on screen protectors from top brands
- Customer testimonials and reviews from users who have installed screen protectors on their devices
Conclusion
Installing a screen protector is a straightforward process that requires attention to details and a few simple tools. By following the steps outlined above, you'll be able to apply a screen protector with ease and confidence, ensuring your device remains protected and looking like new.


![Amazon.com: Ailun 3 Pack Screen Protector for iPhone 15 [6.1 inch] + 3 ...](https://www.iparts-4u.co.uk/blog/wp-content/uploads/2021/12/iphone-screen-protector.jpg "Amazon.com: Ailun 3 Pack Screen Protector for iPhone 15 [6.1 inch] + 3 ...")


