Discord Server Channel Setup Walkthrough
Setting up a Discord server is easy with this comprehensive guide. Whether you're building a community for gaming, study groups, or other hobbies, we'll walk you through the steps to create a server and set up channels, roles, and permissions.
Step 1: Create a Discord Server
To create a Discord server, you'll need to create an account on Discord.com if you haven't already. Once you're logged in, click on the "Create a Server" button on the top right corner of the screen. This will take you to the server creation page where you can enter a name for your server, add a description, and choose a server icon.
Step 2: Set Up Channels
Now that your server is created, let's move on to setting up channels. Channels are where your server members will communicate with each other. You can create different types of channels such as text channels, voice channels, and category channels. Text channels are for text-based conversations, while voice channels are for voice and video conversations.
Creating a Text Channel:
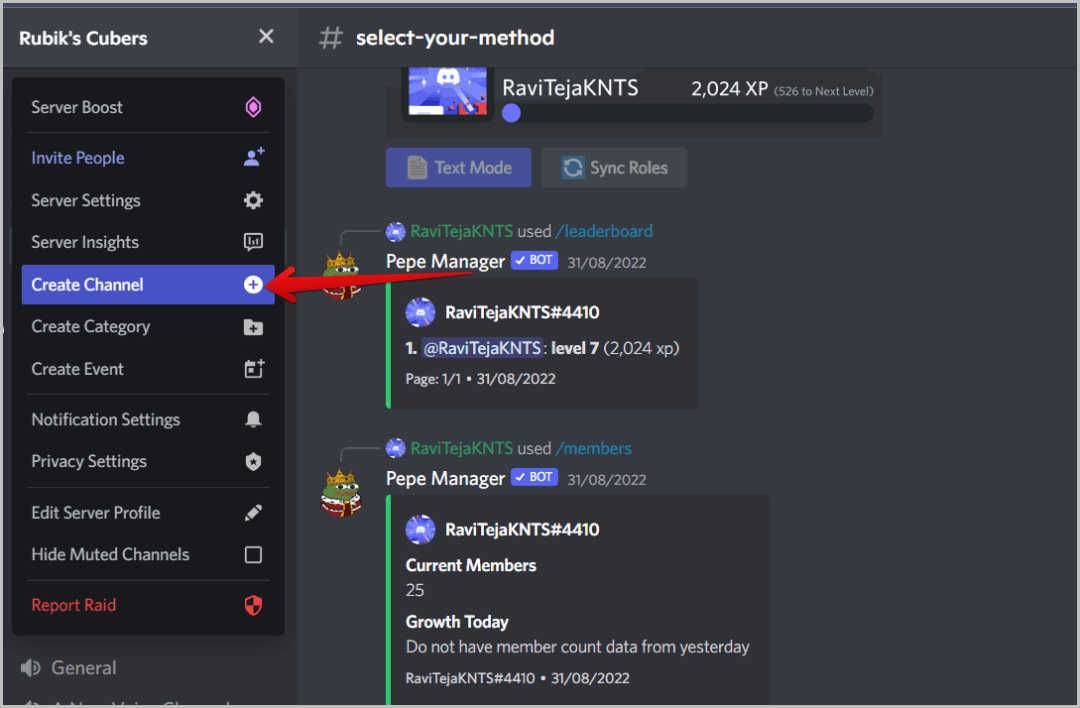
- Click on the "+" button next to the server name to create a new channel.
- Choose "Text Channel" from the dropdown menu.
- Name your channel and add a description (optional).
- Click "Create Channel" to create the channel.
Creating a Voice Channel:
- Click on the "+" button next to the server name to create a new channel.
- Choose "Voice Channel" from the dropdown menu.
- Name your channel and add a description (optional).
- Click "Create Channel" to create the channel.
Step 3: Set Up Roles
Roles are used to give users specific permissions and access to certain channels or features. You can create different roles such as moderators, administrators, and members. Each role will have its own set of permissions that you can customize.
Creating a Role:
- Click on the "Roles" tab in the server settings.
- Click on the "+" button to create a new role.
- Name your role and add a description (optional).
- Choose the permissions you want to assign to the role.
- Click "Create Role" to create the role.
Step 4: Set Up Permissions
Permissions are used to control what users can do in your server. You can set up permissions for each role to determine what actions they can perform. For example, you can set up a moderator role to give users the ability to ban members and delete messages.
Setting Up Permissions:
- Click on the "Permissions" tab in the server settings.
- Choose the role you want to set up permissions for.
- Select the permissions you want to assign to the role.
- Click "Save Changes" to save the permissions.
Conclusion
Setting up a Discord server and channels can seem daunting at first, but with this guide, you should be able to create a server and set up channels, roles, and permissions in no time. Remember to customize your server to fit your community's needs and make sure to regularly check and update your server settings to ensure a smooth and enjoyable experience for your members.
Discord Server Channel Setup Best Practices:
- Keep your channels organized and easy to navigate.
- Use roles to give users specific permissions and access to certain channels or features.
- Regularly check and update your server settings to ensure a smooth and enjoyable experience for your members.
- Communicate with your members and keep them informed about any changes or updates to your server.
Common Discord Server Channel Setup Mistakes:
- Not setting up roles and permissions properly.
- Not keeping channels organized and easy to navigate.
- Not regularly checking and updating server settings.
- Not communicating with members and keeping them informed about changes or updates.

")


.webp "What is Claude Code Channels? Complete Guide to Connecting Claude Code ...")


