#
Setting up Antivirus on Windows 11 Desktop
Protecting your computer from malware and viruses is crucial in today's digital landscape. As you use your Windows 11 desktop, you may wonder how to set up antivirus protection to safeguard your personal data and sensitive information. In this article, we will guide you through the process of setting up antivirus on your Windows 11 desktop.
##Introduction to Windows Security
Windows 11 features a built-in security tool called Windows Security, formerly known as Windows Defender Security Center. This app helps keep your PC more secure by including Microsoft Defender Antivirus, a powerful antivirus tool that protects against viruses, ransomware, and other malware. Windows Security also offers features like a firewall and Smart App Control to provide real-time protection against security threats. ##Enabling Microsoft Defender Antivirus
To enable Microsoft Defender Antivirus, follow these steps: 1. Go to the Start menu and search for "Windows Security." 2. Open the Windows Security app. 3. Click on "Virus & threat protection" from the left pane. 4. Click on "Manage settings" under "Virus & threat protection settings." 5. Toggle the switch to the "On" position to enable Microsoft Defender Antivirus. ##Configuring Additional Settings
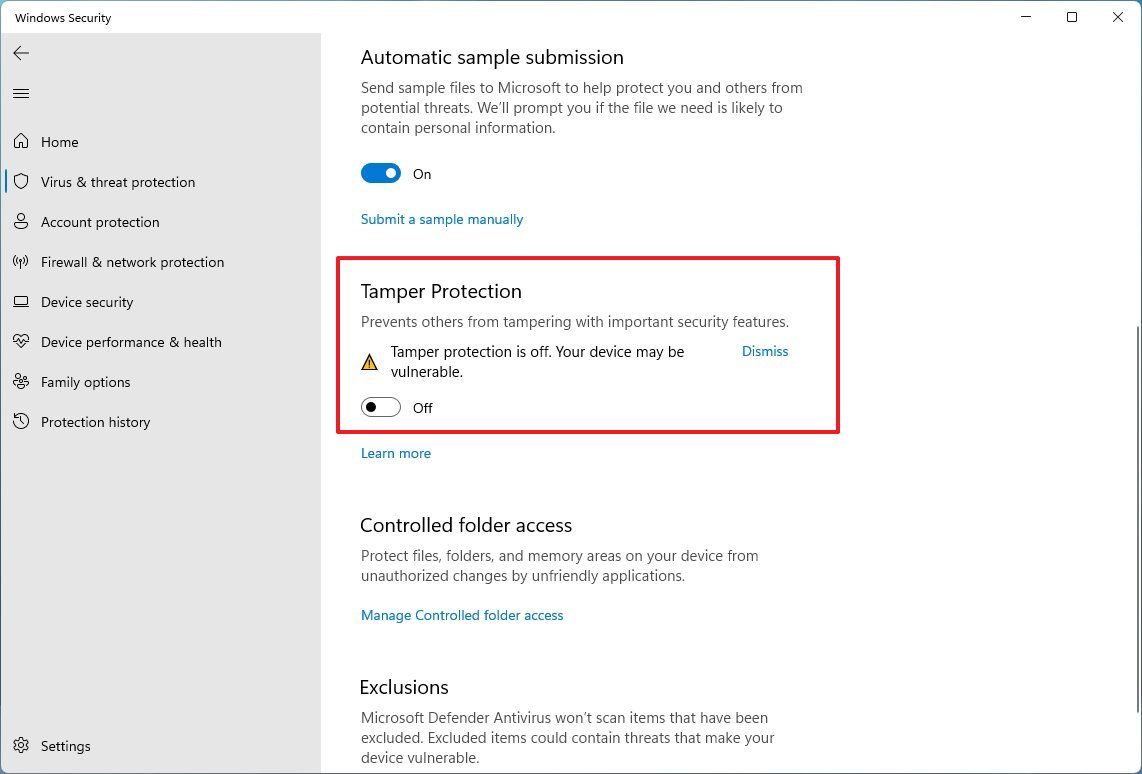
After enabling Microsoft Defender Antivirus, configure the following settings to enhance your security: * **Automatic sample submission**: Set this to "On" to automatically send suspicious files to Microsoft for analysis. * **Cloud-delivered protection**: Enable this feature to receive the latest threat definitions directly from Microsoft. * **Real-time protection**: Set this to "On" to scan your computer in real-time for potential threats. ##Additional Tips for Enhanced Security
To further protect your Windows 11