Understanding Ceiling Water Damage Repair: A Comprehensive Guide
Water damage to ceilings can be devastating, leading to structural issues, mold growth, and even collapse. The sooner you address the problem, the better. In this article, we'll walk you through the process of ceiling water damage repair, covering assessment, cleanup, drying, and finishing techniques to restore your ceiling to its original condition.
Causes of Ceiling Water Damage
- Leaky pipes or faucets
- Heavy rain or flooding
- Backed-up drains or sewers
Regardless of the cause, water damage can be a ticking time bomb. It can lead to costly repairs, compromise the structural integrity of your home, and even pose health risks due to mold growth.
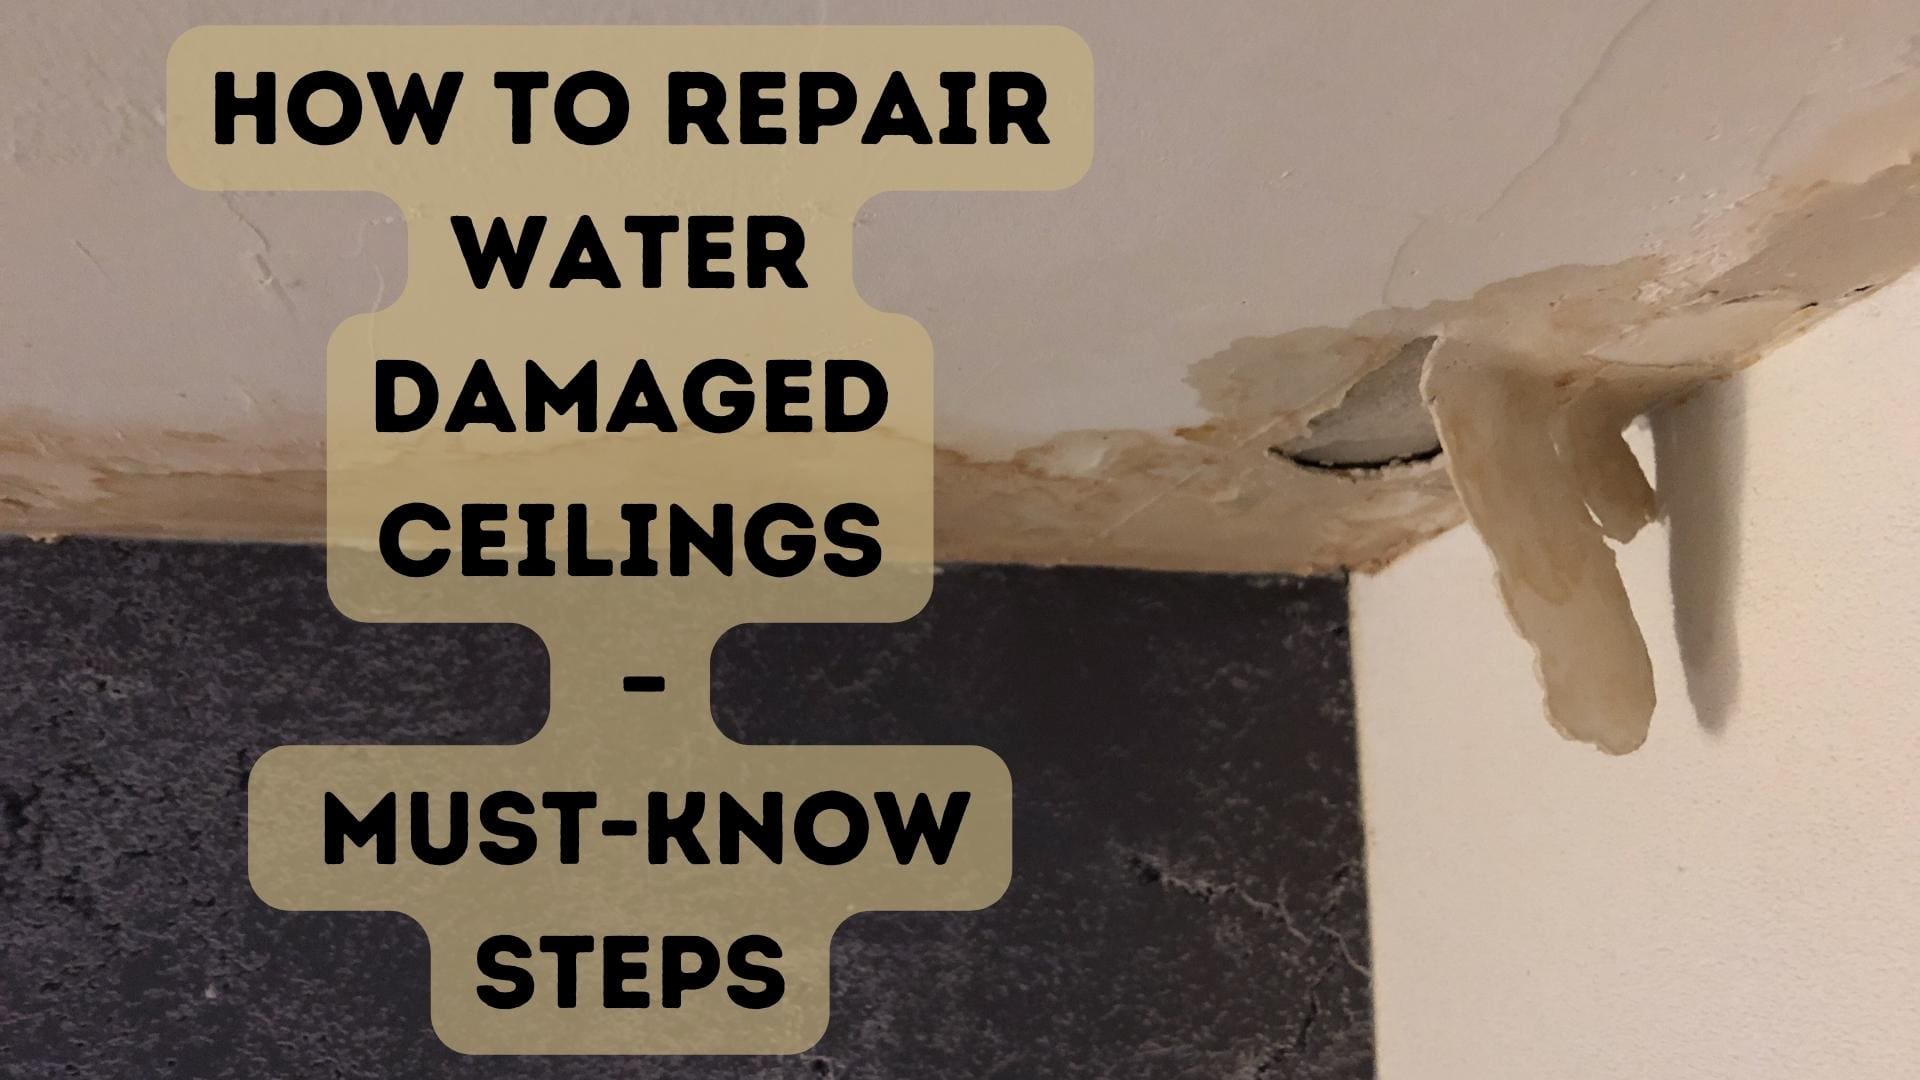
Identifying Signs of Ceiling Water Damage
Before you embark on ceiling water damage repair, it's essential to identify the signs of leakage or water damage. Here are some common indicators:
- Water stains or discoloration
- Warped or sagging ceilings
- Peeling paint or wallpaper
- Musty odors or mold growth
- Visible water damage or cracks
Assessment and Cleanup
Once you've identified the source of the water damage, it's crucial to assess the extent of the problem. This involves:
- Inspecting the affected area for any signs of structural damage or safety hazards
- Identifying the source of the water damage and taking measures to prevent further leaks
- Removing any damaged or wet materials, including drywall, insulation, or flooring
- Controlling the environment to prevent further mold growth or water damage
It's also essential to prioritize the safety of yourself and others. Wear protective gear, including gloves, masks, and safety glasses, to avoid exposure to contaminated water or mold.
Drying and Drying Techniques
After cleanup, it's time to dry the area. This involves:
- Using fans and dehumidifiers to speed up the drying process
- Monitoring the moisture levels and adjusting the drying equipment as needed
- Considering the use of specialized drying equipment, such as desiccant dehumidifiers or axial fans
- Ensuring that all surfaces, including the ceiling, walls, and flooring, are completely dry before proceeding with repairs
Finishing Techniques
Once the area is dry, it's time to begin repairs. This involves:
- Replacing any damaged drywall or materials with new materials
- Applying joint compound or spackling to fill any gaps or cracks
- Sanding and painting the ceiling to match the surrounding area
- Ensuring all repairs are complete and the area is safe for occupancy
Preventing Future Ceiling Water Damage
While ceiling water damage repair may seem like a daunting task, there are steps you can take to prevent future incidents:
- Regularly inspect your ceiling for signs of water damage or leakage
- Address any water-related issues promptly, such as leaky pipes or roofs
- Consider installing moisture-detecting sensors or monitoring systems
- Keep your home well-maintained and ensure proper ventilation
In conclusion, ceiling water damage repair requires a thorough understanding of the causes, signs, and steps involved. By following this comprehensive guide, you'll be empowered to diagnose and repair ceiling water damage yourself, or know what questions to ask a professional to ensure a successful repair and prevent future incidents.


