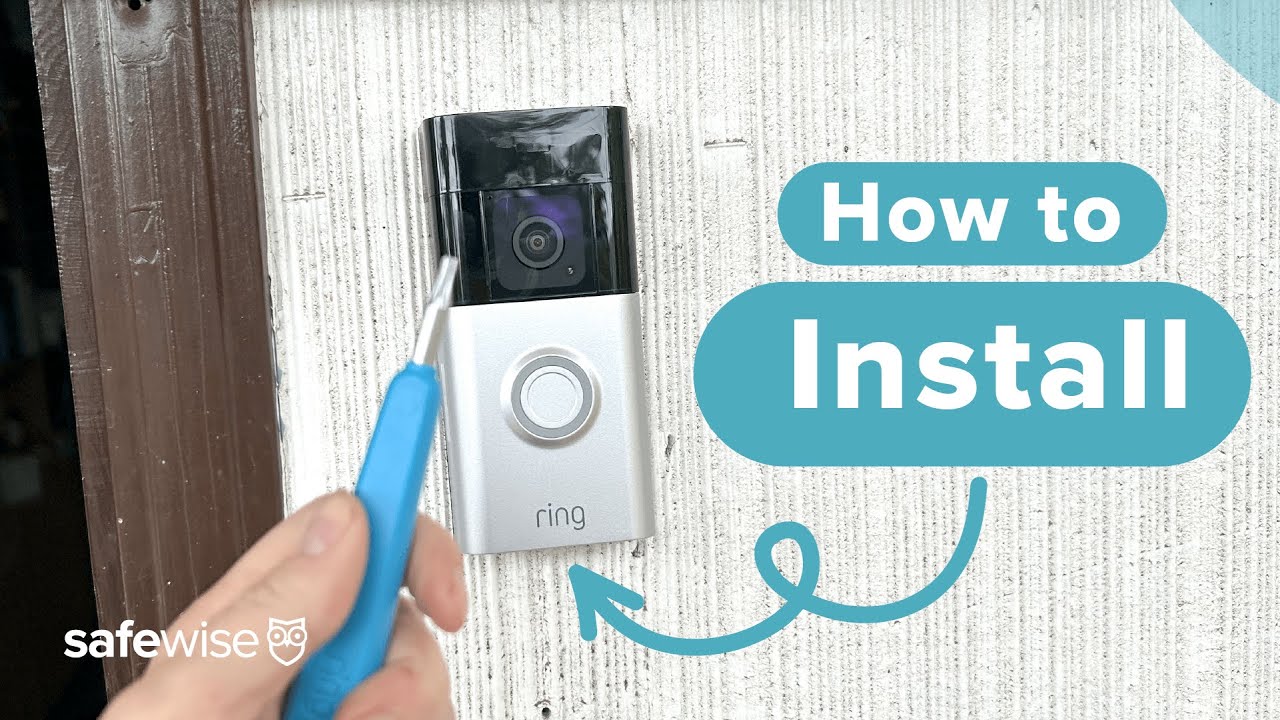
Ring Doorbell Chime Installation Instructions: A Step-by-Step Guide
Are you looking to enhance your home security system with a Ring doorbell chime? Our step-by-step guide will walk you through the process of installing a Ring doorbell chime, ensuring a smooth and successful installation. In this article, we'll cover the necessary tools and equipment, common challenges, and troubleshooting tips to help you achieve a seamless Ring doorbell chime installation.
Before You Begin
To install your Ring doorbell chime effectively, ensure you have the following tools and equipment:
- Ring doorbell chime manual
- Ring doorbell camera or other connected device
- Smartphone or tablet with the Ring app
- Chime wiring kit (if required)
Step 1: Prepare Your Chime
The first step is to prepare your chime for installation. This includes turning off power to the chime at the circuit breaker panel and confirming the original system's functionality.
Confirm Original System Functionality: When the old chime's doorbell button is pressed, the chime will ring.
Next, turn off power to the chime at the circuit breaker panel to ensure the safety of the installation process.
Step 2: Choose Your Installation Method
Ring offers two primary methods for installing a doorbell chime: hardwired and wireless. The hardwired method requires wiring a chime directly to the electrical system, while the wireless method uses a wireless transmitter and receiver.
Step 3: Install Your Chime
Depending on your chosen installation method, follow these steps to install your chime:
- Hardwired Installation: Connect the chime to the existing wiring, ensuring the correct connections are made.
- Wireless Installation: Place the transmitter near the doorbell and chime, then follow the pairing instructions in the Ring app.
Step 4: Connect Your Chime to Wi-Fi
Once your chime is installed, you'll need to connect it to your Wi-Fi network using the Ring app. This is typically achieved by scanning a QR code provided in the chime's manual or by logging in with the item number on the doorbell itself.
Ensure your chime is compatible with your Ring model and has a stable power source.
Step 5: Customize Your Chime Settings
With your chime connected to Wi-Fi and your Ring doorbell camera or other connected device, you can customize your chime settings to suit your preferences. This includes changing the chime tone, volume, and other features available through the Ring app.
Common Challenges and Troubleshooting Tips
Common issues during installation may include:
Wi-Fi password incorrect: Check your Wi-Fi password and ensure it's entered correctly in the Ring app.
Chime not ringing: Verify that the chime wiring is correctly connected and the doorbell button is functioning.
Resetting chime settings: Consult the chime manual or online resources for instructions on resetting chime settings.
Conclusion
Installing a Ring doorbell chime is a straightforward process that requires attention to detail and a willingness to troubleshoot common issues. By following these step-by-step instructions and ensuring you have the necessary tools and equipment, you'll be able to enhance your home security system with a seamless Ring doorbell chime installation. Don't forget to check out additional Ring doorbell deals and offers that can save you up to 50% off regular prices.
Additional Resources
For more information and support, consult the Ring doorbell chime manual, online user guides, and official Ring support resources.
Avoid Missing Deals
Stay informed about the best Ring doorbell deals and offers by bookmarking our website and following our blog for regular updates. Don't miss out on savings opportunities on popular Ring doorbell models, including the Ring Battery Doorbell Plus Smart Wi-Fi Video Doorbell.


 - YouTube")
")


")


: A ...")